Wednesday, 17 April 2019

Spring and sunshine!


At the beginning of the year a friend sent me a link, to a very useful project sheet.  Not only did I print a number of copies, they got filled in.  With no order of priority. When I came across any projects in my sewing room, they got added to the list.
This is the honest list, by placing them on the list, they are real and will get to be done along the way.  Some projects are intense, some are small, some easy and others may just need a few bits to finish them.  They may have been on the to do list for a while, which could be holding us back.  So without further putting it off, just jump in and start doing.  In the last three and a half months I have finished many projects, including the surprise one's which ended up in my lap.
These have all been finished.  Just doing at least twenty minutes a day, made this happen.  It is amazing when we jump in and just start to do, how much can be achieved.
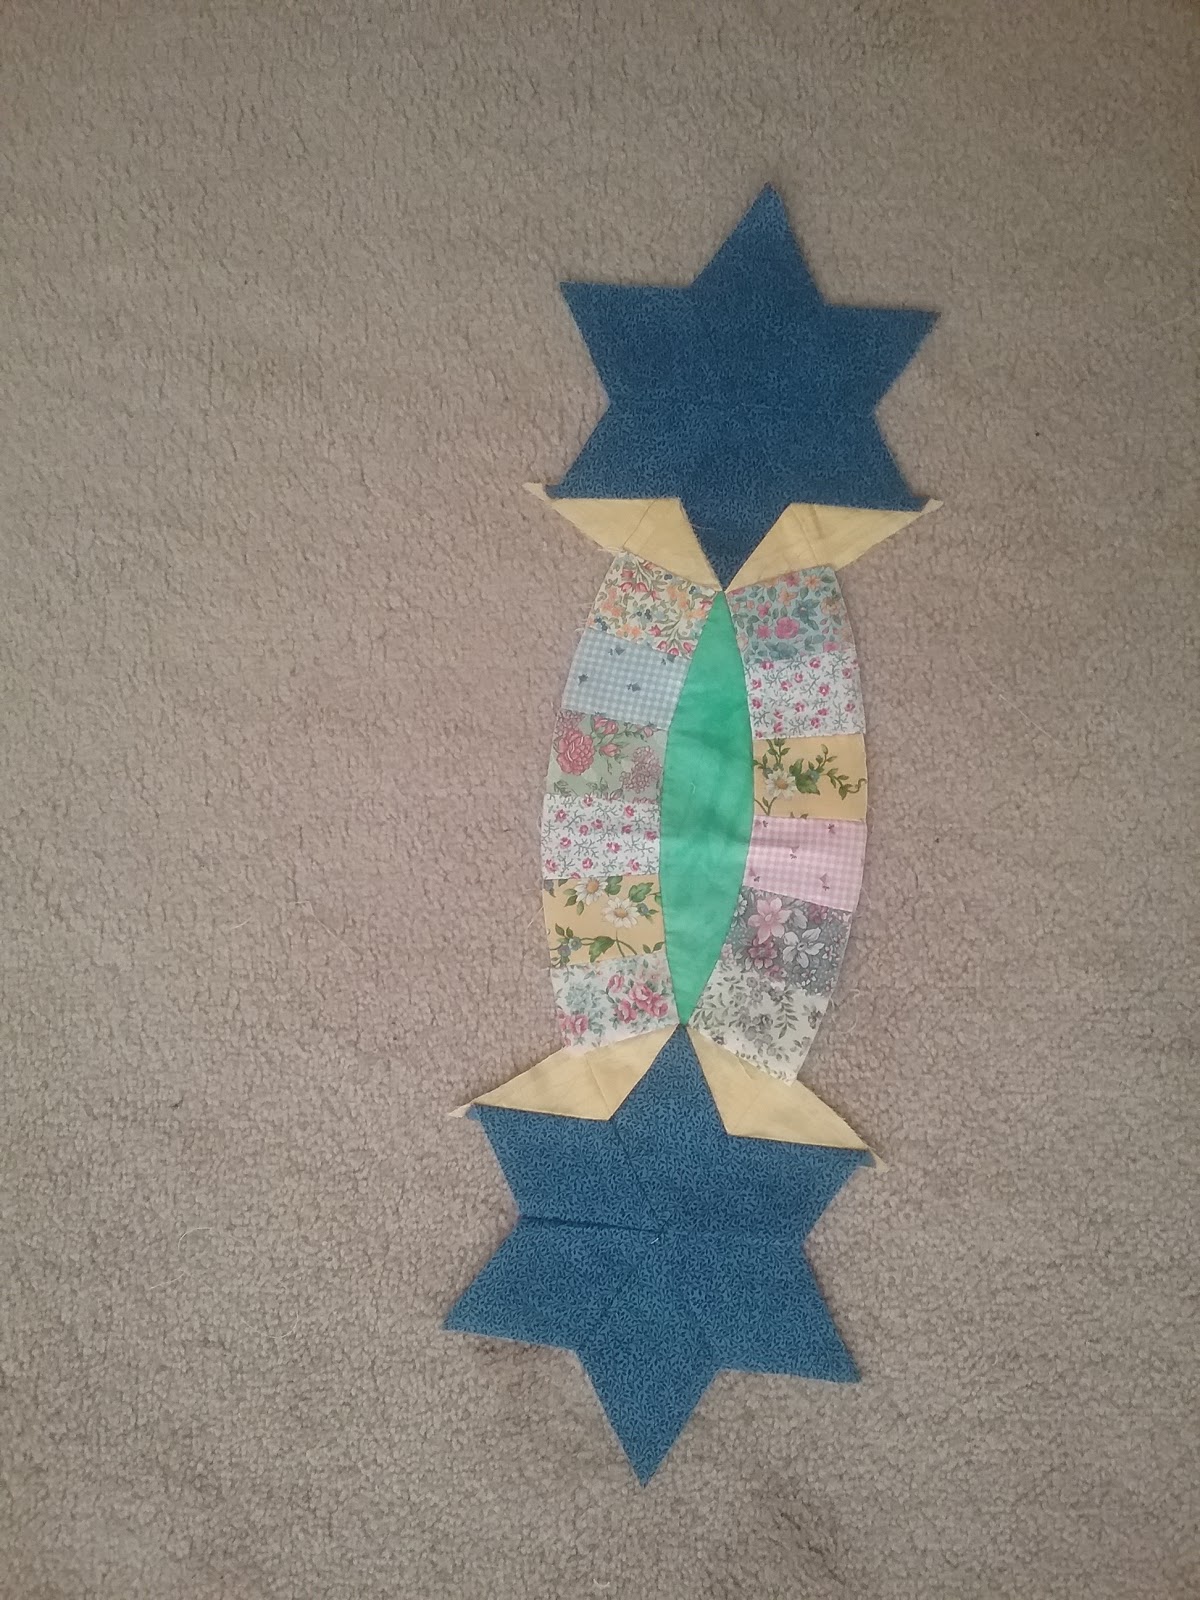
This is the work in progress which has been discovered, it is now a continuous project for this year.  The reason, the paper pattern where the folds are, have decided they are not meant to last forever.  It was started twenty years ago.  About time it either got finished or passed on to someone else.  It is one of those projects, which is still a wow to this day.  So it is a keeper, it will be finished.
 Knitting has become part of my routine,  it became important, because of stiffness in the hands.  It has helped a lot.  Applique is something which we love, in order to be able to continue to do it by hand, the hands need some tender loving care.
 Knitting for beginners has also challenged parts of my patience, which thanks to Kate has been improved quite a bit.
 Assume that beginners know very little about what pattern designers think they do, patterns for beginners need to be more precise.  It will help a lot.
 The nemesis.  This is the quilt, which have been unpicked more than seven times.  If someone could make this quilt more than a century ago and get it to lie flat, without bubbles.  Then we should be able to do the same today, with all the tools at our disposal?
Diane's 2017 Stitch-a-long.
This one has a band with squirrels and acorns, with bees above it.
I would like give credit to Sandra for the project sheet and the 2019 Finish-a-long for 2019, for getting me inspired to get going on my UFO's. Thank you!  Read all about it here.


(As for my list, it has many projects on it, too long to list here.)

finishalong logo Im in


Monday, 8 April 2019

Stitching and quilts.


A few things got finished this week.  Next will be a 21st Birthday Quilt.


Diane's stitching, her Jane Bannister 1855 is coming along, quickly.
My stitching this week.
Knitting the baby sweater.

Baby quilt progress.
 This is the center panel.
 The border fabric. 
Finished this one as well.  Both still need the labels on the back. Babies arriving faster than Spring.
More snow on the way, old man winter missed the memo that said, winter is over, it is time for Spring!


Monday, 1 April 2019

Baby quilts.

Last year was weddings.  This year it is babies. This morning another one got added to the list.  Between quilting friends, we have friends who are not quilters.  They are fast becoming GrandMa's and the new additions need quilts.  Collaboration on these projects, happens seamlessly.
Kate bought the fabric for the top, from Kelly at Textile Traditions, in Almonte.  She is also a friend.  She had a good laugh at how we are doing this project.  Since we now live in different parts of the province, it has become the travelling baby quilt project.  The making and quilting is my part, then the finished baby quilt will be going with me, when it is Retreat.
Distance and logistics, is so much easier to navigate, with modern conveniences.  Something we are very, glad for. Thank goodness for the modern day post office. Also in the parcel, Kate included this kit. She had this one in her stash.
The under the sea top is done, ready for quilting.
 The embroidered baby quilt top all layered, ready for basting with pins.
 To keep everything from moving, pin around the embroidery, to anchor it all in place.
 The corners of the blocks are next.
Then the sides, left and right, top and bottom.
 Continue to pin the quilt, from the center out, the sashings and the borders. It is now ready for quilting. Normally the quilt would be just quilted.  Due to the extra layer of bamboo, it was sewn around each block with wash away thread, which was placed in the bobbin and on top of the machine.  Using a large tacking stitch, with a walking foot, the blocking was done this way. Most of the quilting pins were removed with this step.  The quilt was then quilted the normal way, over the wash away thread.  (The wash away thread disappeared once the quilt got washed.)
The baby quilt top, quilted by machine, washed and ready to be given to the new parents to be.
We dream of Spring, this is what we woke up to, on the weekend!

Tuesday, 26 March 2019

Knitting to ease the stiffness in our hands.

When we do applique, stitching by hand sometimes we keep out fingers, hands in the same position while holding our fabric and needles to stitch and sew.  This can cause them to become stiff.  Kate recommended I try some knitting, as the hands and fingers are moving more often.  I am not very good at knitting, decided to give it a try.  This is the result and the biggest bonus of it all, my hands are not sore, the stiffness is gone.  So now I knit a bit every day!
 Supplies + Pattern. 
 I have stitch markers in my sewing room, just could not find them. So I improvised, with little scrunchies, which is used on my machine bobbins. my row counter, which I was gifted with a collection of knitting needles.
 The increase on this, stumped me.  My way would not have been good, stopped at the yarn store.  BettyAnn showed me how.  I was on my way.
 Remind me of an aeroplane, with wings.
 The body almost done.
 Knitted. Still needs blocking and ends sewn in.
The buttons, including some new born mittens (which somehow came out much larger). Only a beginner at this knitting.  The next sweater is well on its way.  The pink one will be going to a baby girl, arriving this summer.


Thursday, 21 March 2019

Stitching DIY.


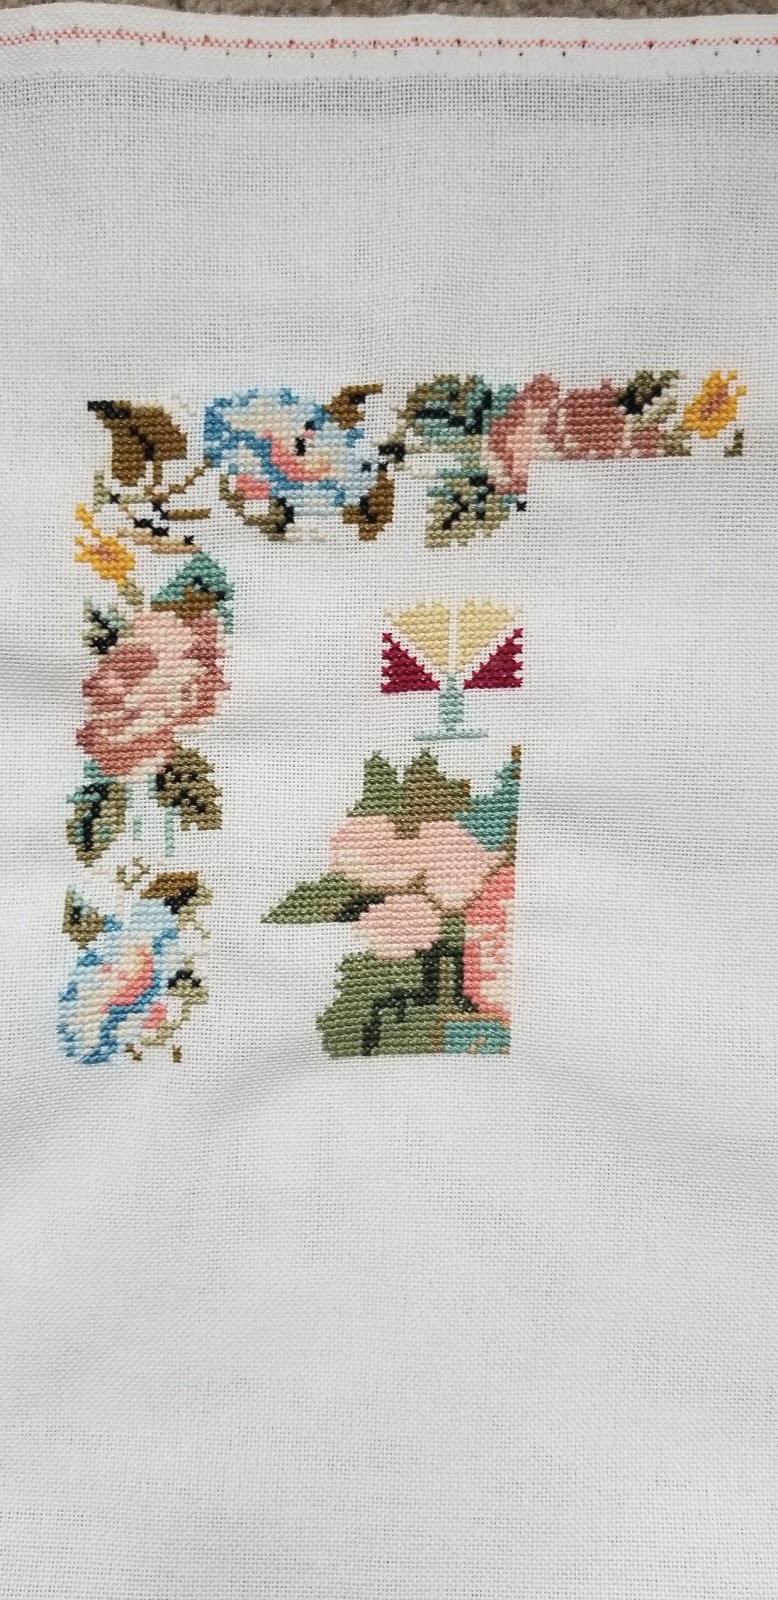
We all have our own way of doing things.   At the beginning of this year, my honest list had my oldest work in progress on it, a cross-stitch kit.  Decided as the paper pattern is falling apart on the folds, have to get this one done.  To this end,  it gets worked on at least once a week. Opening Pandora's box, without realizing it. Since then the stitching bug caught again. Inspiration is close by as, Diane stitches all the time.
This is her progress on her latest piece, Jane Bannister.
 Kits come with pre-cut floss, our muscles and brain gets use to this.  So when I decided to start a new piece, something was missing.  Until it dawned on me, the floss needs to be that magic length!
 As this was a 2018 stitch-a-long, going online to check out the layout was a good idea.  As the patterns we buy, was for individual blocks only.  This gave the answer, as to how to connect the blocks of the months. Very good to do research, before starting a project.
 Prepping the fabric first, serge or zigzag the edge of the fabric.
These are my little tools to help me.  The magnifying glass, came from a Christmas Cracker, little zip lock bags with the corresponding symbol on the outside of the bag for short pieces of floss, just in case they are needed later.  A sharpie to write on the bags, a pencil for colouring in the parts I have stitched on the chart and a small pair of sharp scissors.  The other thing I use, is a black fabric bag, to place on my lap while stitching, it helps me to see the holes on the fabric so much better.  It works similar to when one use dark fabric, by placing a white fabric on your lap to reflect the light up. Making the holes easier to see.
 Getting all the supplies together.
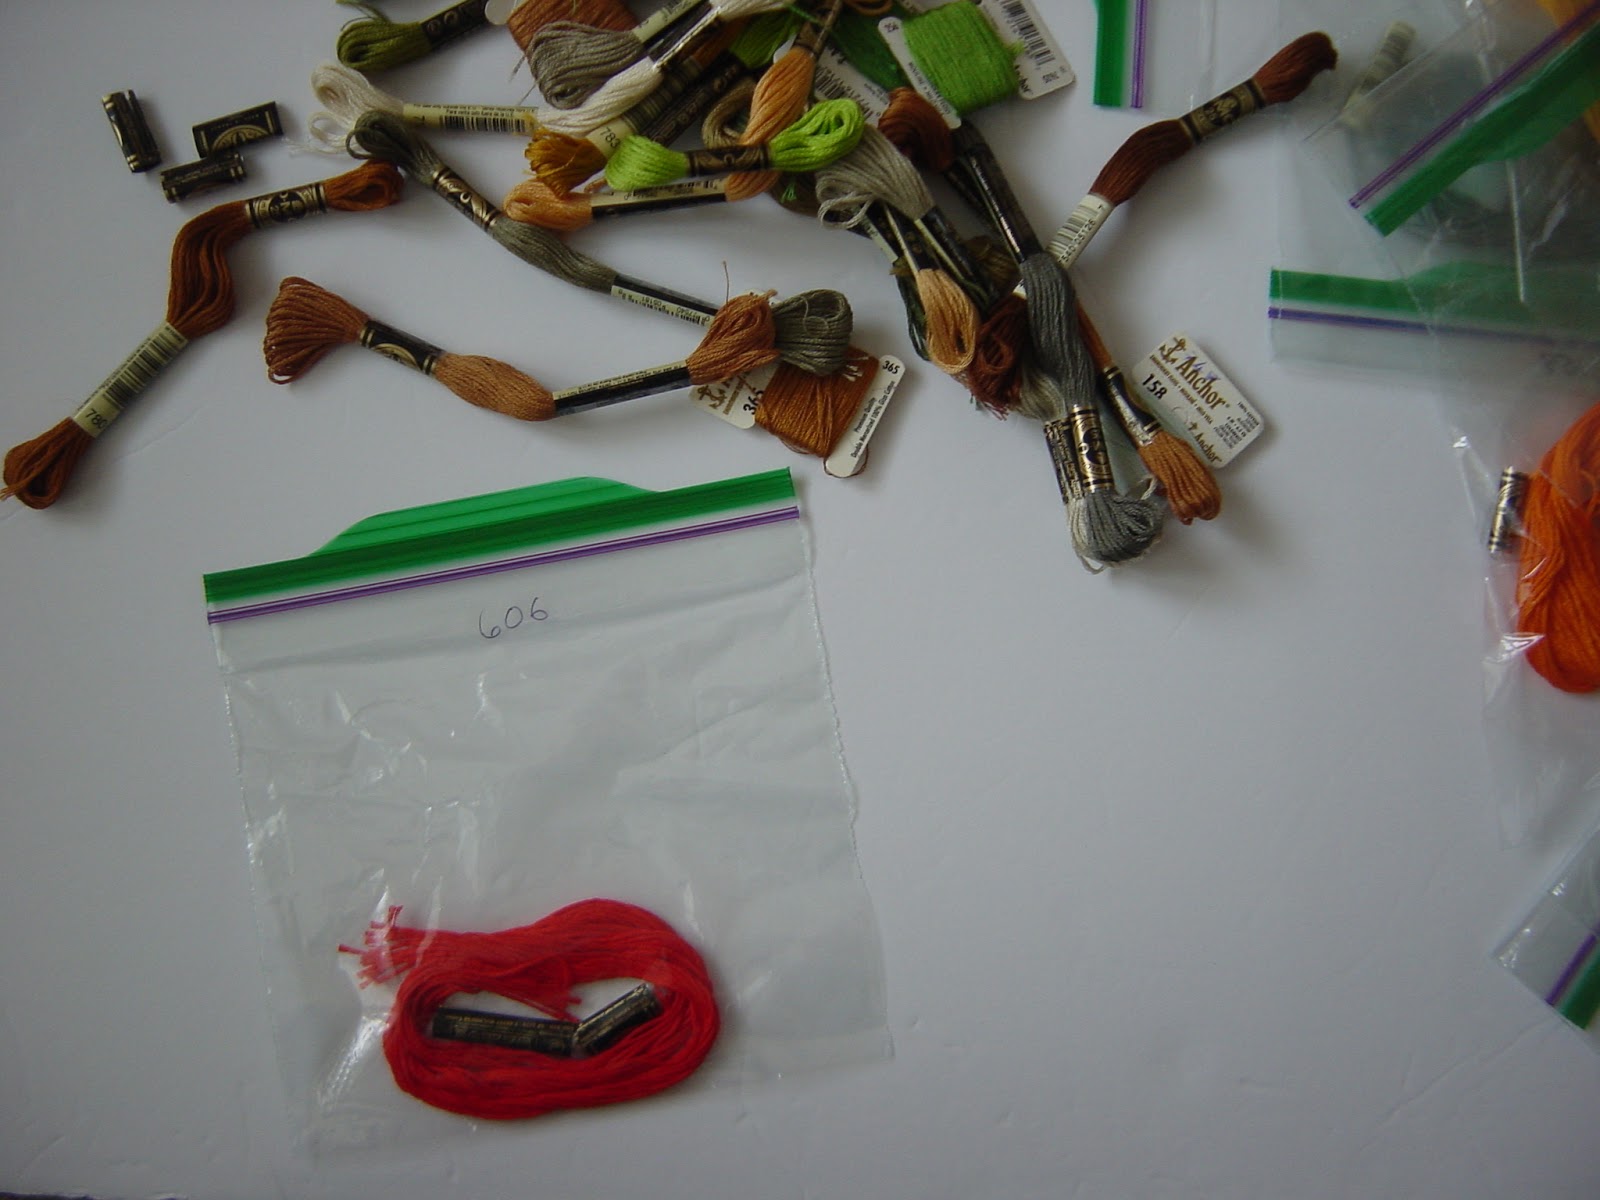
 Prepping the floss.
 Using sandwich zip lock bags.
 Write the number on the outside of the bag with a sharpie.
 Cut the floss the length, in this case it turned out to be 26 inches.
 Place the floss and the tags from the thread in the zip lock bag, ready for use.
 It is almost ready, just remember to close the bag.  Place it in your project bag, it is now ready for you, when you want to work on your project.
A small start has been made.
Spring arrived yesterday, so glad it is official.