Tracing berries just became a lot easier. First trace all the berries onto the fabric, then do a running stitch, about an eight of an inch from the edge of the circle, leaving thread tails long enough to draw the circles up around the templates, they vary, my favourite is the brass washers. One can use plastic, freezer paper, stiff card stock or even a fusible stabilizer.
This is the front, before cutting out all the circles to make the berries.
For these berries, Floriani Stich N Wash Fusible Water Soluble Tearaway Stabilizer have been used.
Pinning the fusible side to the wrong side of the fabric. These have been done, using short pins, which were anchored to the ironing board. Once fused, pull up the threads, just enough to create the berry.
Once the threads have been pulled up and the berry is formed, give it a quick press with an iron. Leaving the berries on the ironing board for a short while, to cool down. Then remove the pins and place the berries into a project box, ready for use. Years ago, this is the way I learnt to make the berries. The brass washer method .
Attaching the berries, make a dot in the center of each circle, this is where the tail threads of the berries is anchored through to the back of block, in this case the circle for the compass.
The berry anchored on to the background, ready for stitching.
The berries can all be anchored in this way to save time, no need to pin them in place.
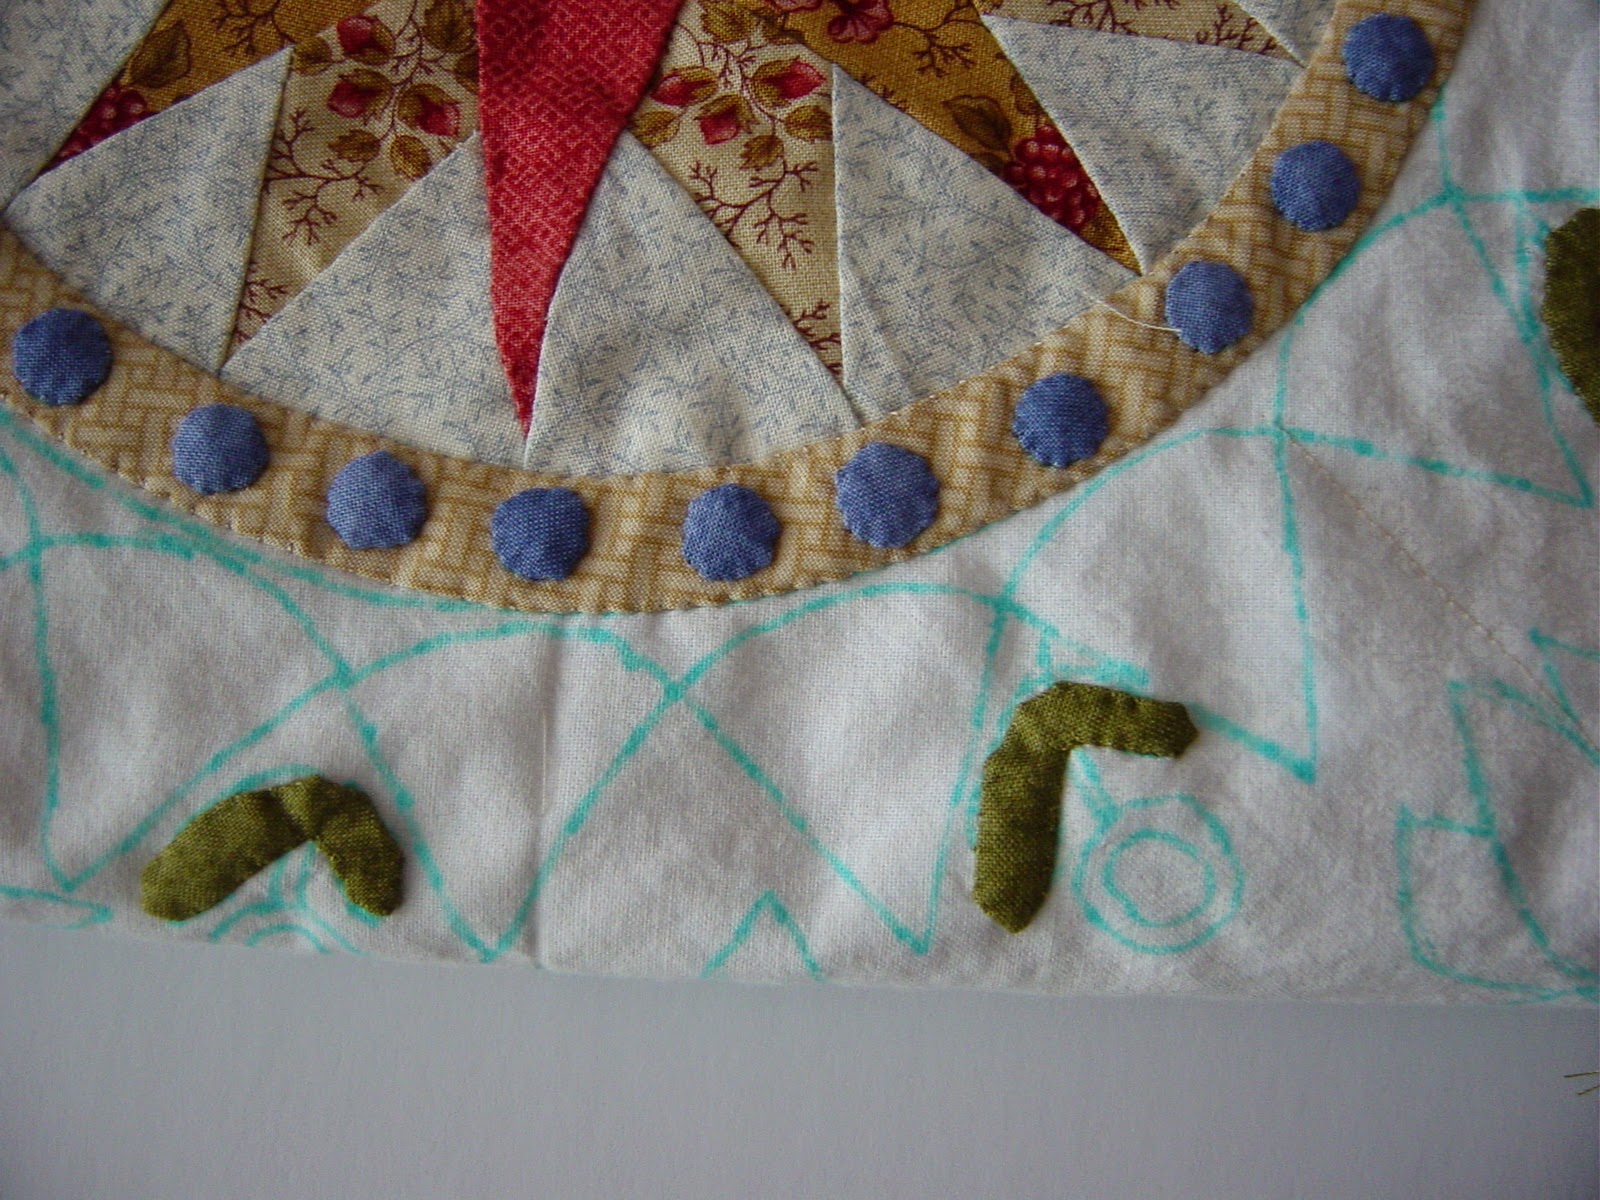
Berries stitched in place on the background.
A close up of the blue berries.
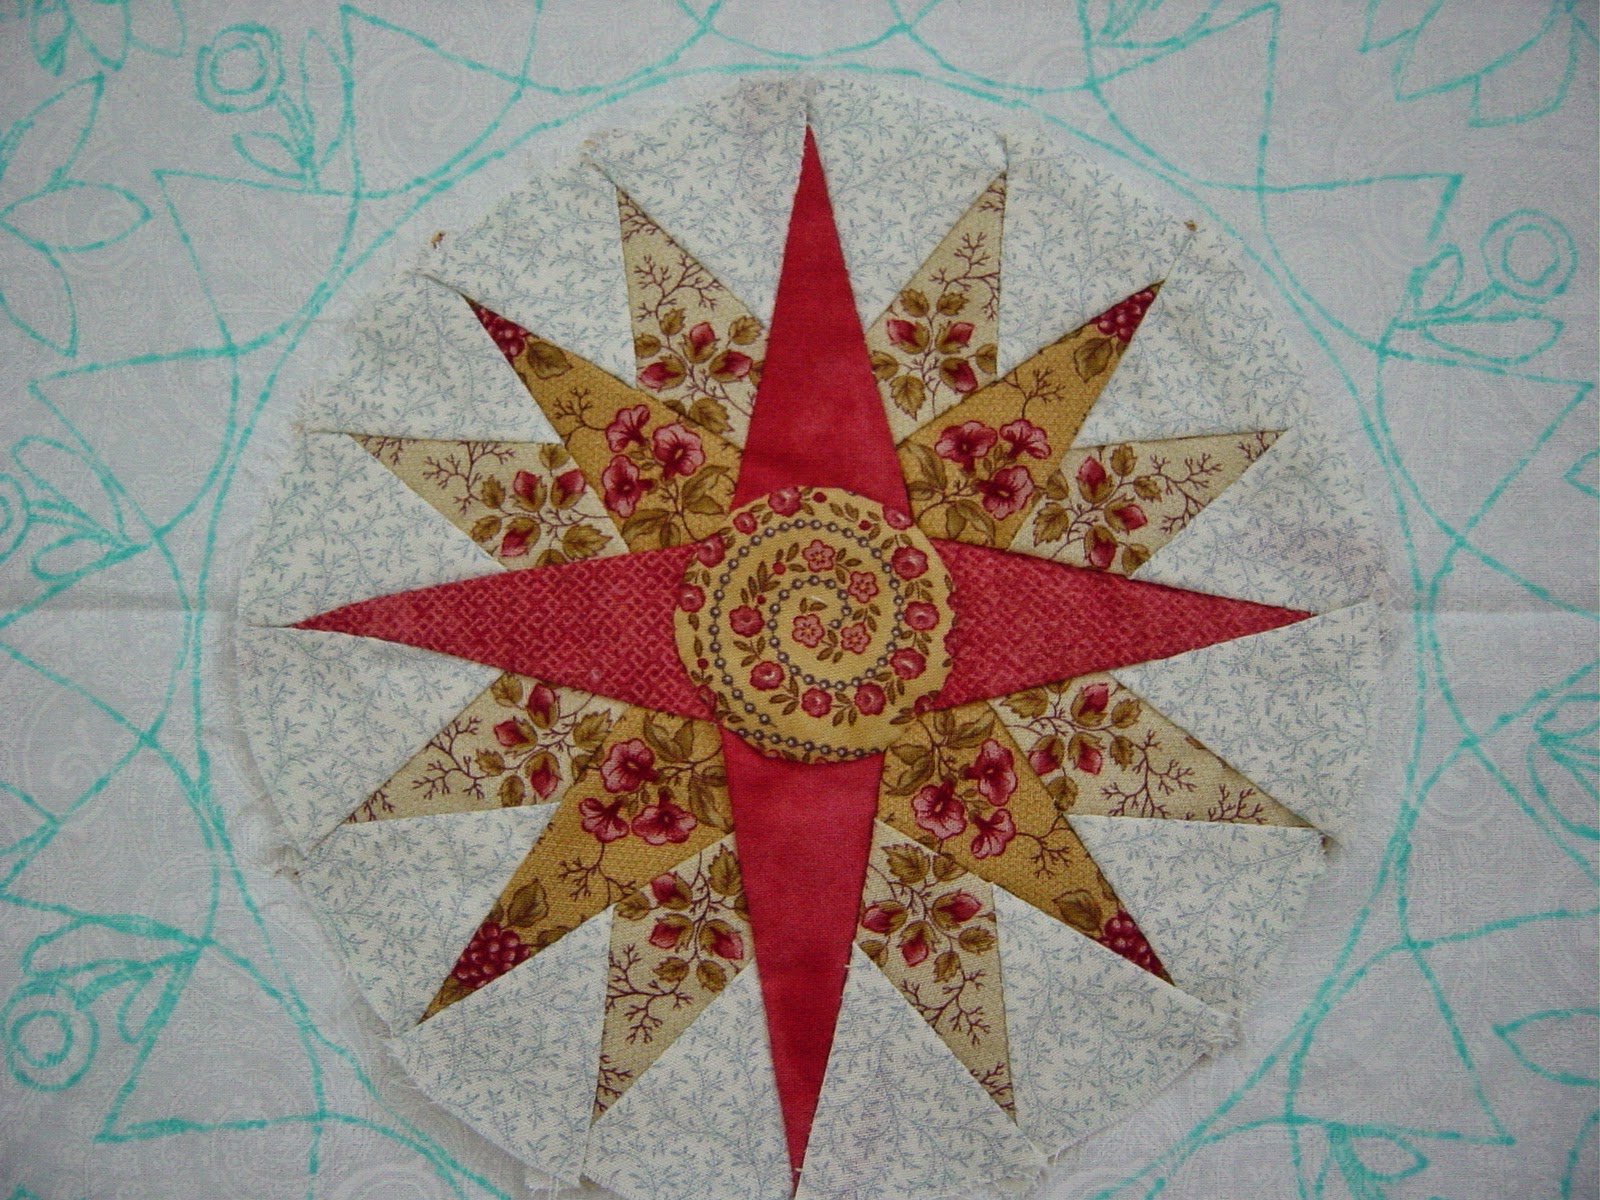
The Mariner's Compass placed on the background.
The ring with the blue berries was the one, which was stitched down in the end.
For a bit of fun, did a few berries using needle turn only, not so easy, especially at a quarter of an inch size.


No comments:
Post a Comment